Getting Started
A quick guide to getting your first integration running
There are 3 steps to starting your integration:
1. Register your application
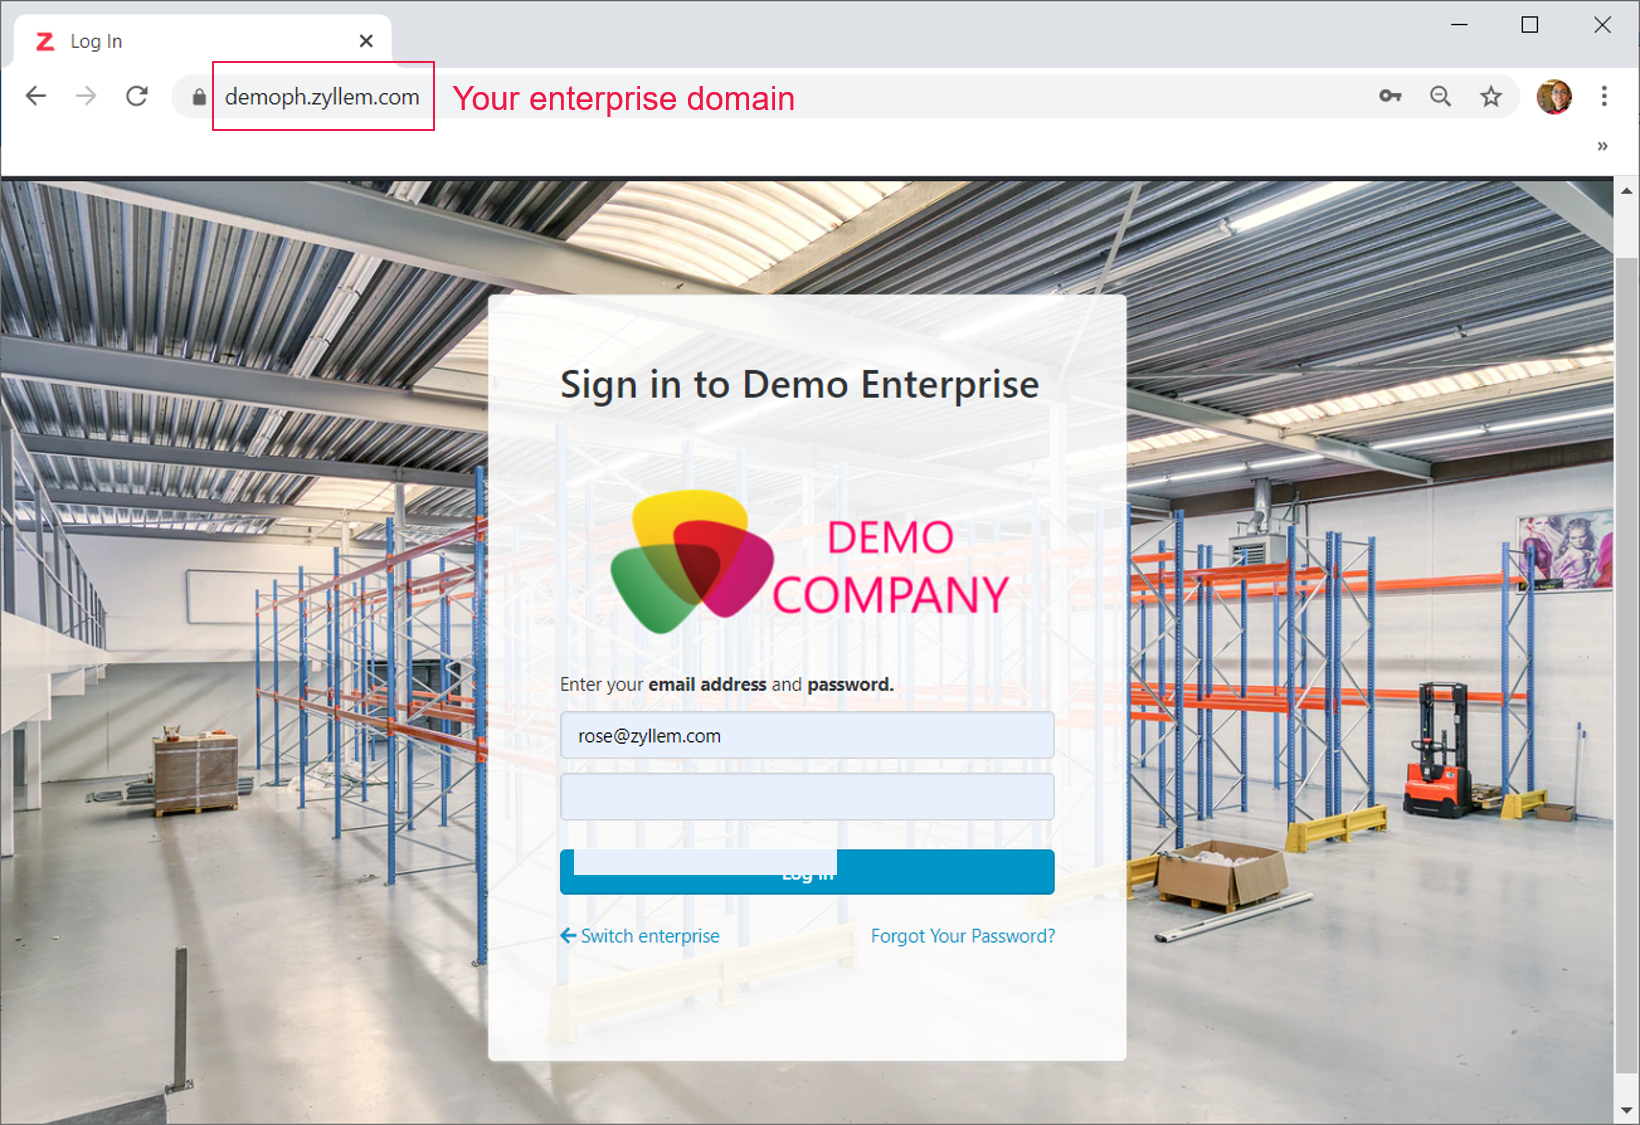
1.1 Log in to your enterprise web portal (e.g., yourEnterprise.zyllem.com). Don't know your enterprise details? Contact your Zyllem administrator.
Sandbox Testing
If you want to build your integration on the sandbox environment before you go live, log in to yourEnterprise.zyllem.io instead of .com. Read more about Sandbox Testing.

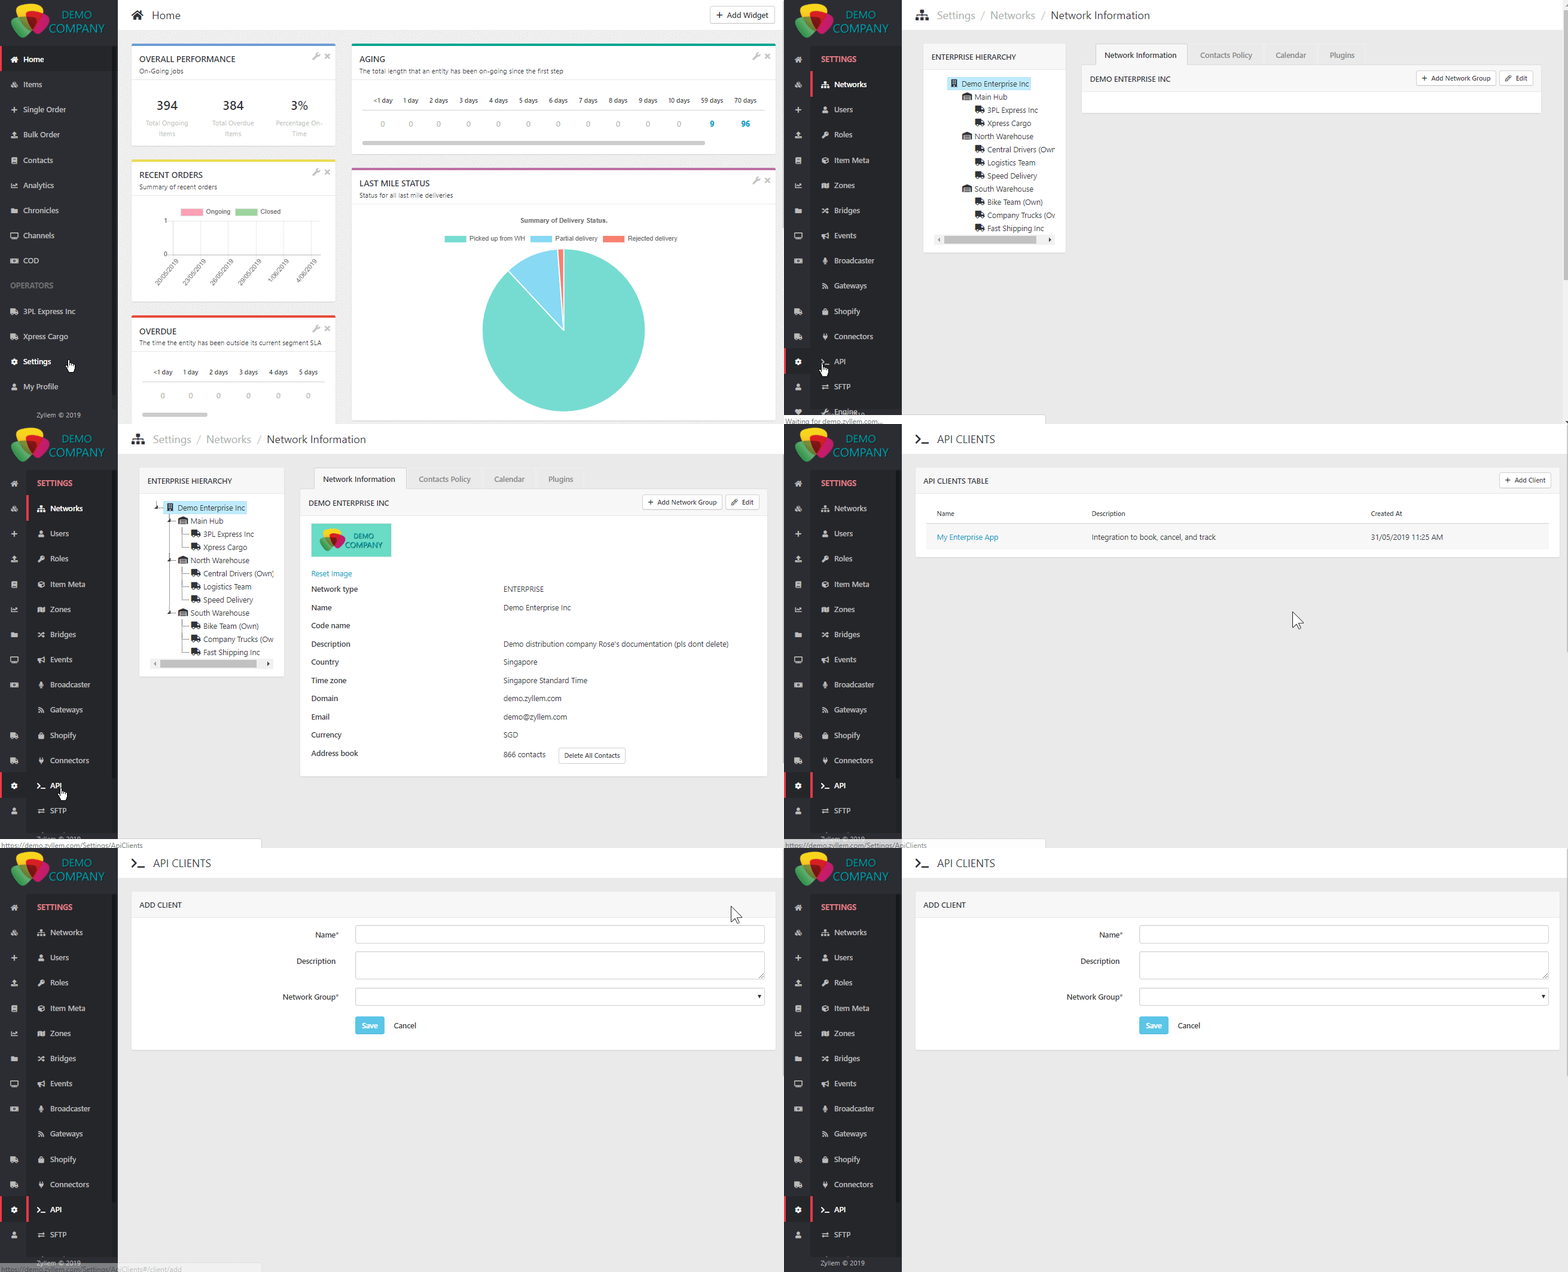
1.2 Go to Settings > API.
1.3 Click Add Client.

Don't see Settings > API?
Contact your administrator to grant you access. Or go to Settings > Users or Roles to manage your access.
1.4 Fill in the form (*required).
| Field | Description |
|---|---|
| Name | Your application name |
| Description | (Optional) Description of your application |
| Network | All orders booked via the API will reflect on this network |
1.5 Click Save.
2. Configure your API settings
2.1 Click on the client name you have just created in Step 1.

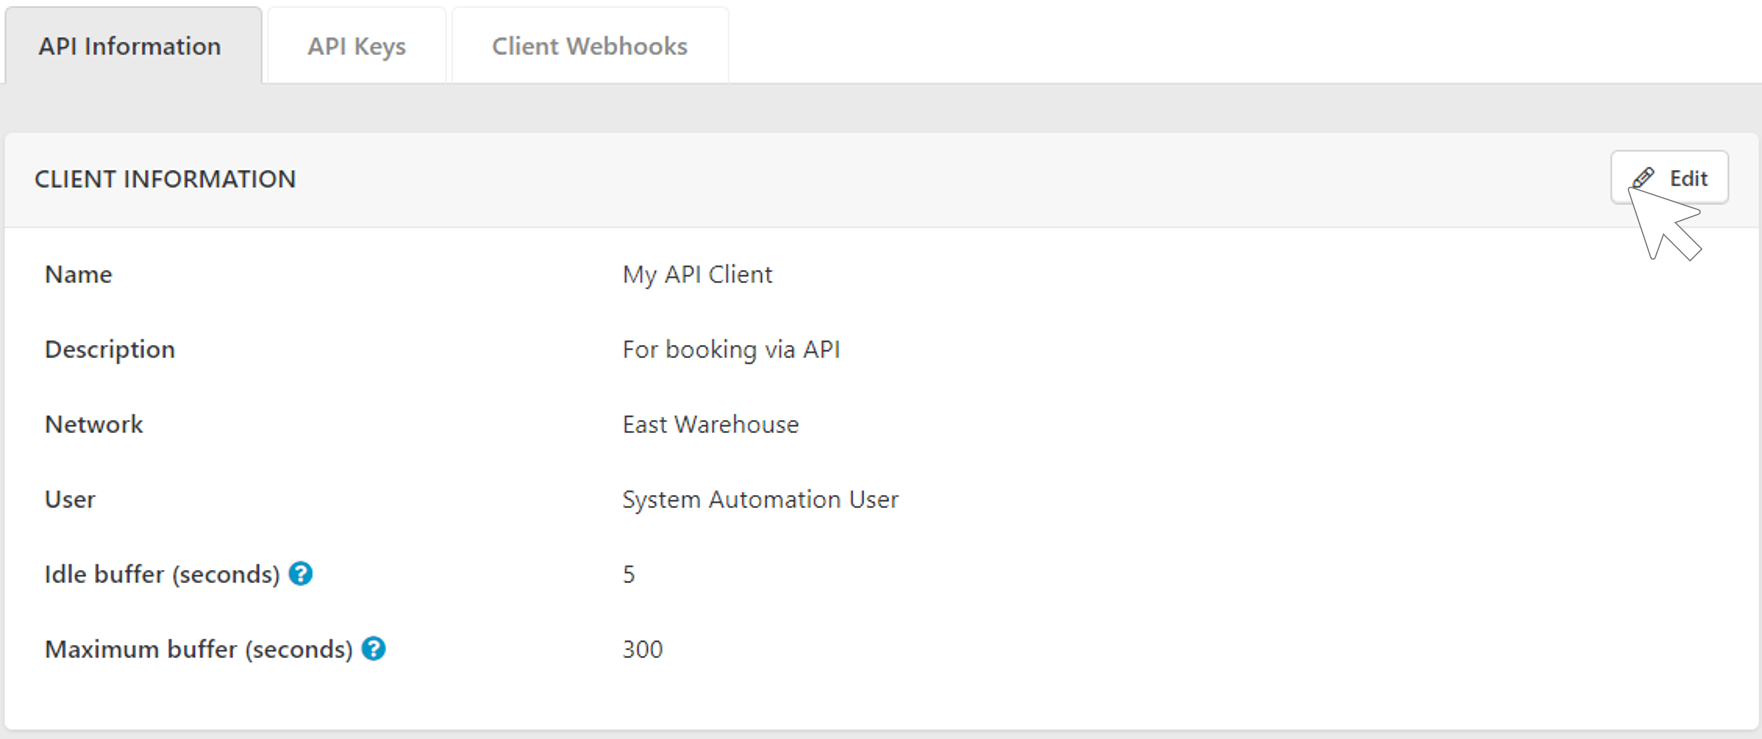
2.5 Click Edit.

2.6 On the API Information tab, fill in the form (*required):
When using the 'Single Network Group' setting...
Starting 26 Jan 2021 (Release v6.23):
- New API clients created on/after the release will strictly adhere to the read behavior of Single Network Group described below (i.e., they can only read items that are associated to them by booking or assignment).
- Old API clients created before the said date will retain their behavior (i.e., they can still read items that are not associated to them by booking or assignment). This was done to enable backward compatibility of your existing configurations with the said release.
| Field | Description |
|---|---|
| Name* | Your API client name |
| Description | Description of your API client |
| Network Group* | Select the read and write access of this client. - All Network Groups - allow this client to read and write to any Network Group. NOTE: You will need to provide the Network Group Id in your API call. - 'Single Network Group Name' - allow this client to write to this Network Group only. It can read all items that are associated to it by booking or by assignment. For instance, if an item is booked on GroupA and the process has 2 segments: (GroupA --> GroupB --> GroupC), then both GroupB and GroupC can access all items that are assigned to them at one point even if their booking source is GroupA. Tip: This same behavior can be observed in the Items page on the web portal. NOTE: Write = book, reschedule/reroute/cancel and other exceptions. Read = get or receive data via API or Webhooks. |
| Start Fail Mode* | Choose what happens to an item if the system fails to start it (also known as Stage 2 Booking Error): - Created - hold them up in the Items page (Created tab) for manual intervention. - Auto delete - automatically delete or discard the item. |
| User* | The 'booker' or user name reflected on the Ordered by User field. |
| Idle buffer (seconds)* | The time apart between two API bookings by which the enterprise accumulates all bookings before sending them to the operator. E.g., If you set this value to 5 seconds (recommended), the system will accumulate all bookings that are less than 5 seconds apart, and only push them to the operator if the last booking was more than 5 seconds ago. |
| Maximum buffer (seconds)* | The maximum duration by which the enterprise accumulates all bookings before it sends them to the operator. E.g., If you set this value to 300 seconds (recommended), the system will push all accumulated bookings to the operator after 300 seconds (regardless if bookings are still coming in within your defined idle buffer above). |
3. Generate your API key
3.1 On your client API client page, click on API Keys tab.
3.2 Under KEY TABLE, click Add Key.
3.3 Fill in the key name and description (optional), and click Save.
Once the key is generated, it will be listed on the KEY TABLE.

Using the API Key
The API Key is used to authorize your connection to the Zyllem API. You need to attach it as a query parameter named
keyto all your calls to the API. You can generate multiple API keys and revoke them. See Authorization 101.
4. Test the API
Test the integration by using /ping
Once you get a successful ping response, you are ready to book your first delivery order!
Obtaining the Network Group Id
If you selected All Network Groups in the Network Group field of your API settings in Step 2, you will need to provide Network Group Id in some of your API calls.
To obtain the Network Group Id:
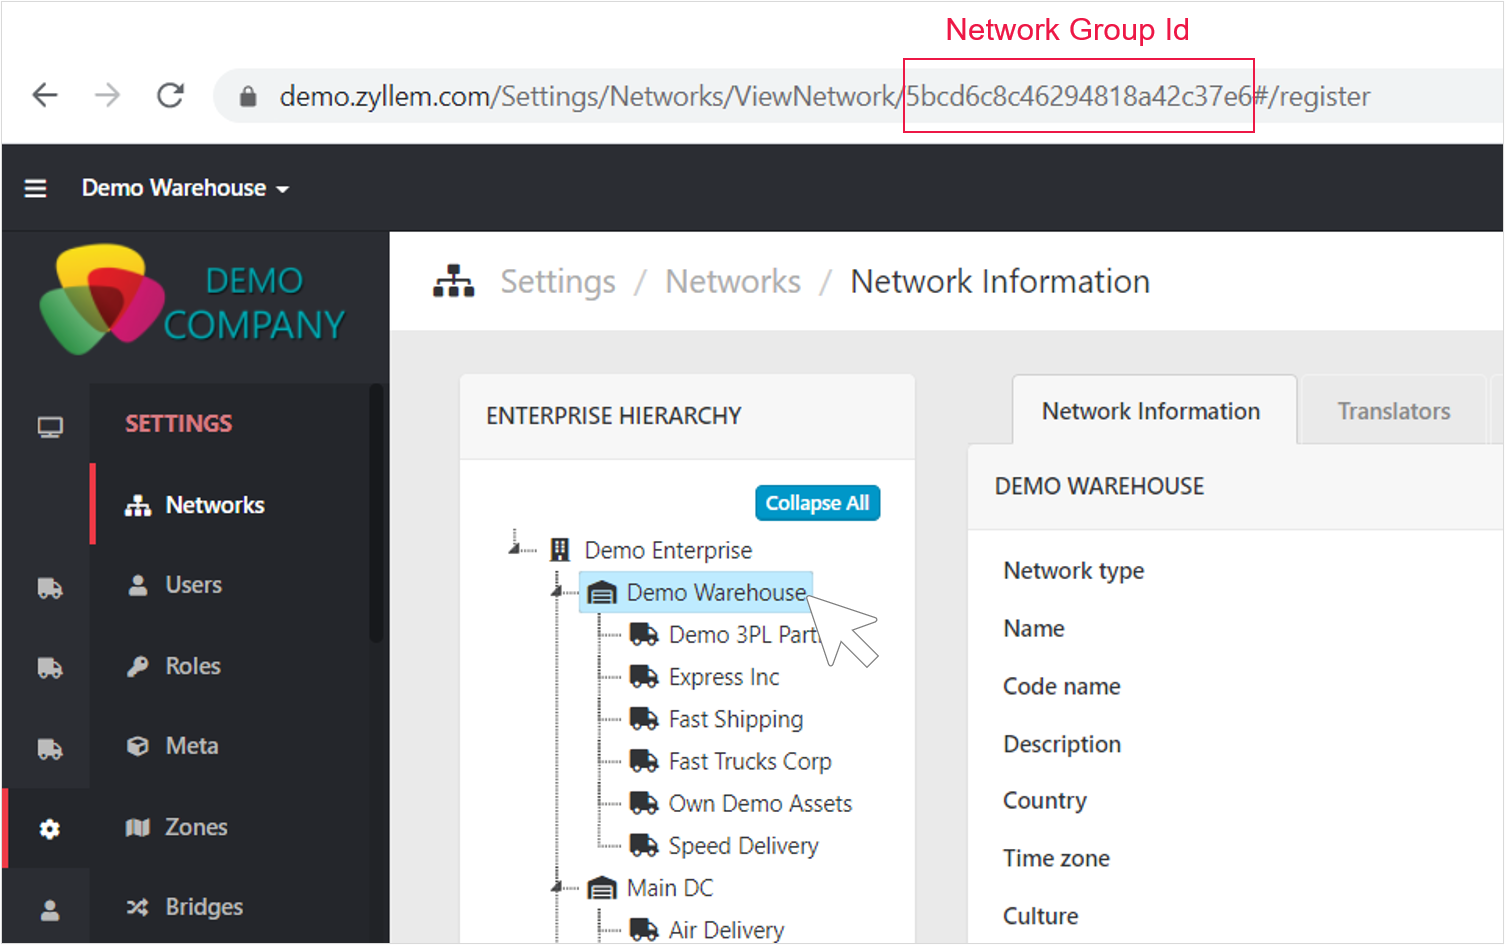
- Log in to your enterprise web portal.
- Go to Settings > Networks.
- Under ENTERPRISE HIERARCHY, click on the Network Group name.
- On the address bar of your browser, copy the Network Group Id
(e.g. yourEnterprise.zyllem.com/Settings/Networks/ViewNetwork/NetworkGroupId#/register)

Updated over 4 years ago
